INSTALLATION & QUICK START
Get VibeUE up and running in minutes
Prerequisites
• Unreal Engine 5.7+
• Git (only for GitHub installation)
• MCP Client (optional: VS Code, Claude Code, Cursor, or Antigravity)
• No Python Required! Native C++ MCP server
- 1 Install VibeUE Plugin
Choose one of the following installation methods:
🌟 Option A: Install from FAB (Recommended)
✅ Easy installation - No manual setup required
✅ Automatic updates - Get the latest features
✅ Verified builds - Tested and stable releases
1. Open your Unreal Engine project
2. Go to Window > FAB (or Window > Marketplace in older versions)
3. Search for "VibeUE"
4. Click Install to Engine or Add to Project
📁 Finding your install folder: FAB installs to a non-obvious directory. To find it, open the VibeUE Settings (⚙️ gear icon in the chat window) — the full plugin path is displayed under the MCP Server section with an Open Folder button. Sample instruction files are inside
Content/samples/.⚙️ Option B: Clone from GitHub (Advanced)
For developers who want the latest development version or need to modify the source code.
cd /path/to/your/unreal/project/Plugins
git clone https://github.com/kevinpbuckley/VibeUE.git
cd VibeUE
buildplugin.bat
Example for Windows:
cd C:\MyProject\Plugins⚠️ Important: Run the buildplugin.bat file after cloning to properly configure the plugin.
If auto-detection fails, pass your UE install path as the first argument:
buildplugin.bat "C:\Program Files\Epic Games\UE_5.7" - 2 Enable the Plugin in Unreal Engine
If you installed from FAB, the plugin may already be enabled. Skip this step if VibeUE is already active.
1. Open your Unreal Engine project
2. Go to Edit > Plugins
3. Find "VibeUE" in the Editor category
4. Check the box to enable it (if not already enabled)
5. Restart the editor when prompted
The plugin will build automatically when enabled.
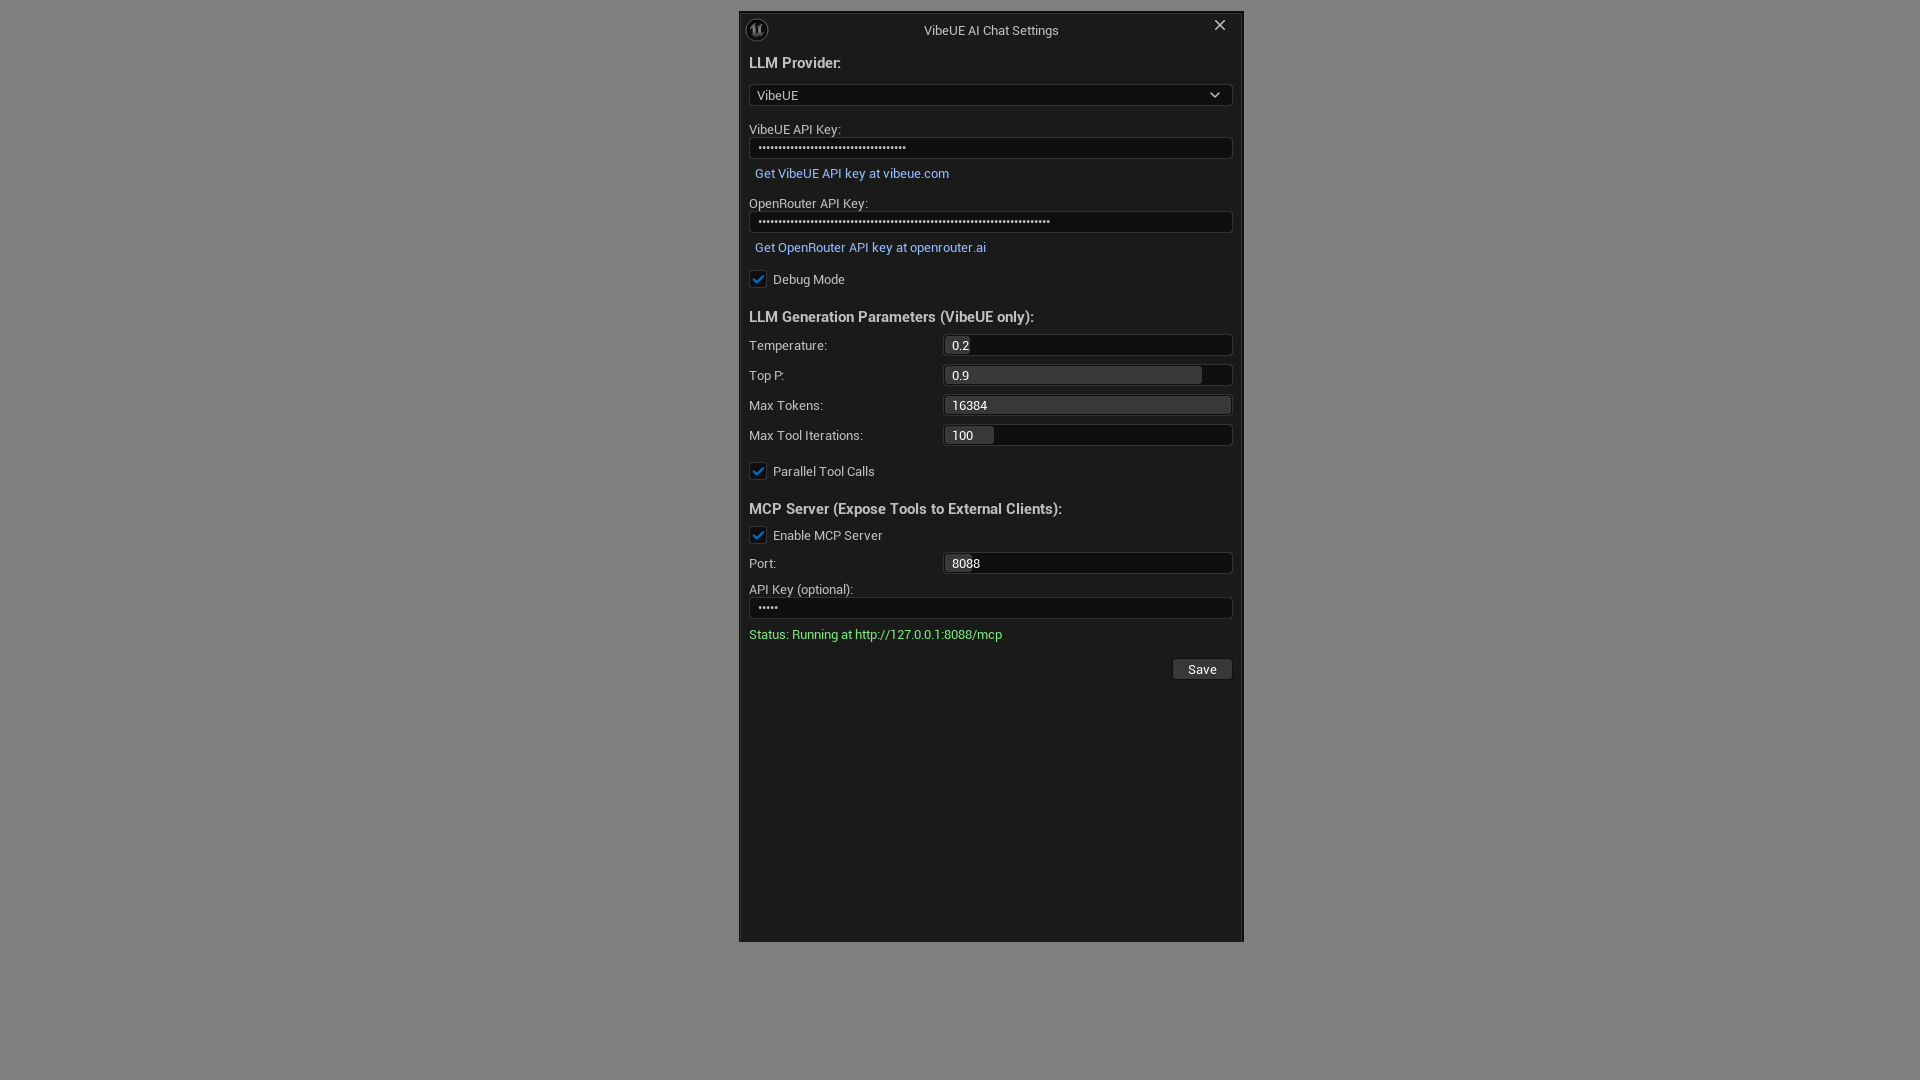
- 3 Open AI Chat & Get Your API Key
1. Open the AI Chat: Go to
Window > Assistance > VibeUE AI Chat(or pressCtrl+Shift+V)2. Click the ⚙️ gear icon to open Settings
3. Get a free API key at vibeue.com (or use openrouter.ai)
4. Paste your API key and click Save
5. Start chatting! Ask the AI to create a widget, modify a Blueprint, or search your assets
That's it! No external tools or Python needed.
- 4 (Optional) Configure External AI Clients
Want to use Claude Code, GitHub Copilot, Cursor, Antigravity, OpenCode, or VS Code to control Unreal? VibeUE includes a built-in HTTP MCP server.
Enable the MCP Server
Configure in Project Settings > Plugins > VibeUE (or ⚙️ in the Chat window):
• Enable MCP Server - Toggle the HTTP MCP server (default: enabled)
• Port - HTTP port for MCP connections (default: 8088)
• API Key - Bearer token for authentication (optional)
Server runs at
http://127.0.0.1:8088/mcpusing Streamable HTTP transport.AI Client Setup Guide →
Step-by-step MCP config and project instructions for Claude Code, GitHub Copilot, Cursor, Antigravity, OpenCode, and VS Code.
💡 Important: The MCP server only runs when Unreal Editor is open with VibeUE enabled.